
Page 4
In order to decorate this
lace I decided to make use of the
ideas I had already tried,
just a little differently.
Supplies HERE
Export the daisy as a tube
and open the bow on your workspace.
Open a new blank canvas 400x400
transparent.
Make your bow the active
image and click this icon
to copy it. Now make your
blank canvas the active image.
Right click the bar at the
top and choose:-
Paste as a new layer from
the drop down menu.

Once again use the same
Kaleidescope settings.

This is what you should have
now.
I save everything lol... so
SAVE now.
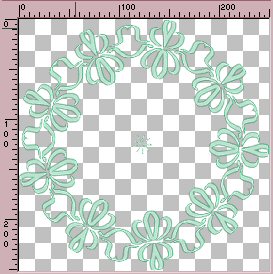
Using the Erase tool remove
the little star in the middle.
Click the copy Icon.
Now open up the original
lace image.
Right click the top and
choose:-Paste as a new layer.
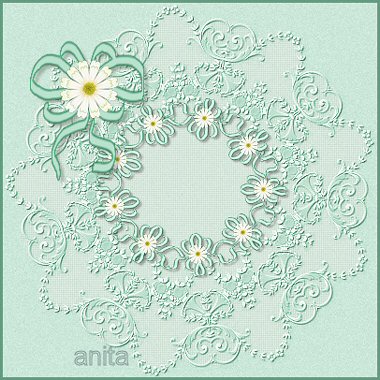
Using the Deform tool, nudge
the ribbon wreath in towards
the middle so it looks
similar to mine.
I have added the bow at the
top left on a separate layer.
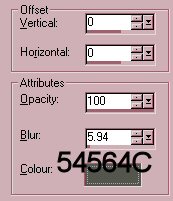
Before you go any further
add a small drop shadow
to the wreath and the bow.
Now you can decide if you
would like to change the colour.
Do each layer individually.
When you are happy with your image
SAVE before you move on.
Make your top(bow)layer
active and add a new Raster layer.
Open the Tube tool and
locate the daisy.
Change the Scale
to 10.
Decorate the ribbon wreath.
Adjust-Sharpen-Sharpen.
If you would like to put one
in the bow center, add a new Raster
layer.
This time make the Scale
30 add the same drop
shadow.
Sharpen once.
All done? Layer-Merge-Merge
visible.
One last thing the pretty
font is available
HERE
I do hope you have enjoyed
this rather long tutorial
as much as I have creating
it.
Email
Back
Tutorials Home
|